The Origin
It all started in 2019 when I watched my first anime series and I fell in love with it. Since then I always noticed that the anime culture is underappreciated in India. So, I wanted to spread the news about anime through something that I know best. Wait, you thought I posted the wrong article with the wrong heading? Just have a little faith I will come to deployment soon. As I was saying that I wanted to spread the news about anime and being a web developer I thought building a website would be the best contribution to spread the news. Thus begun the process of building animelife.
About Animelife
This is a site which helps you read quotes from different animes. You can get random quotes from different animes or you can search for the quotes from your favourite anime. I created the site with two objectives in my mind:
- to help content creators to get quotes without being bombarded with ads
- to make people realise that anime is not only for kids because it teaches you a lot in life Now, the site is live and I have received a lot of praises from different people and I am happy with the outcome.
You might be thinking why I am telling you all this. Well because I think everyone has a dream and everyone knows how to build something. Supposing you are a web developer and you created a site then you would naturally want others to appreciate your creation. So, for common people to see your site you need to deploy it. Here is where Netlify comes into play.
Prerequisites for the deployment
- You need to have a github repository with the code of the website that you want to publish.
- You need to have an account on netlify and make sure to sign up with your github account to ease your deployment process
And voila you are ready for deployment
Deploying your first site
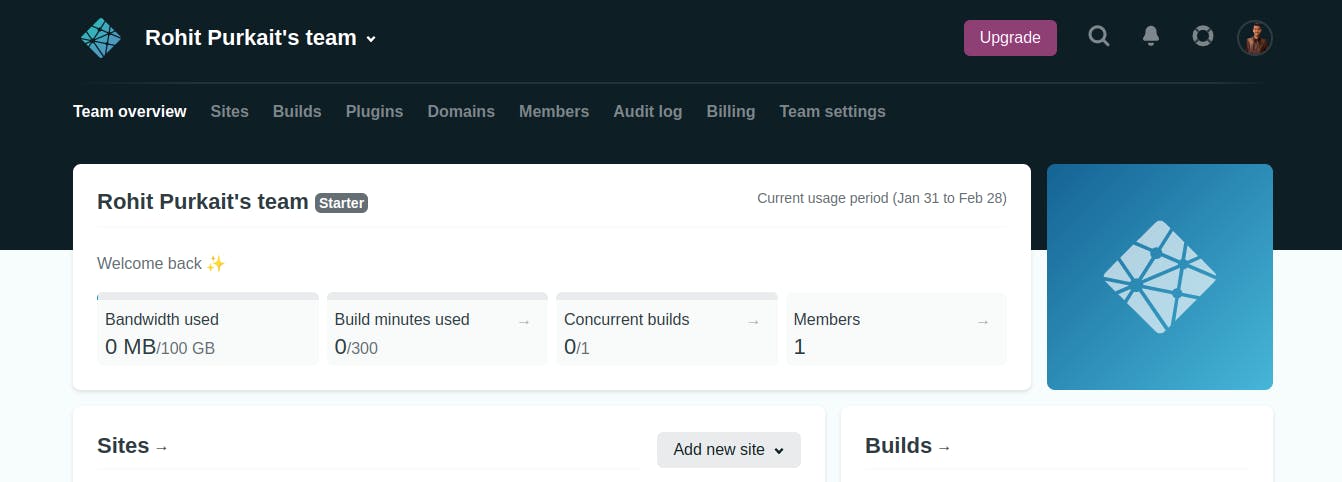
- After signing up on netlify with your github account. You will be able to see a screen like

Click on the
Add New SitesHere you will get 3 options:
- Import Existing Project: This will be used to deploy the repository which you have already created from previous steps
- Start from a template: In this netlify will provide you with some existing templates which you can use to build a site.
- Deploy manually: In this you can drag and drop your HTML, CSS and JS file directly in the given place and Netlify will deploy your site automatically and will you a link to share.
As we are using a github repo to deploy so, we will choose the first option i.e.
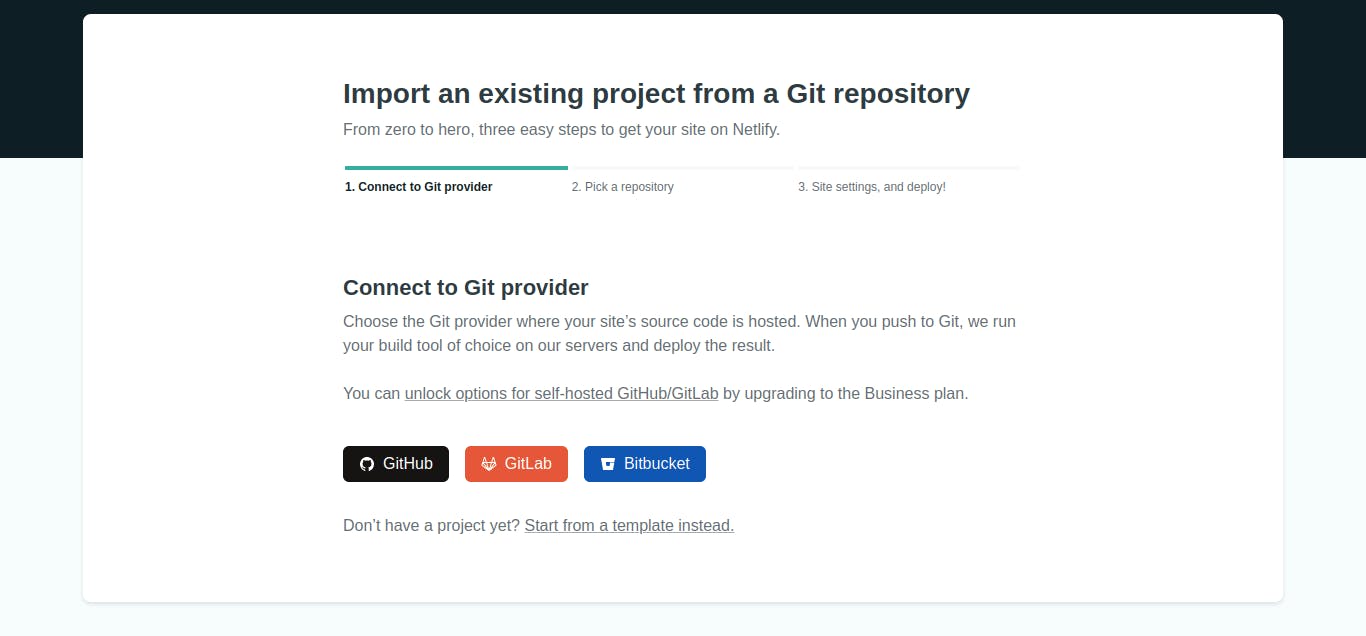
Import Existing Projectand you will be able to see a screen like

- Now choose github and all your existing repository will appear
- Select the repository that has your site and click deploy
Just like that you will see your site getting deployed and you will get a link to share.
If you want then you can change the default site name by
Selecting the Options button next to the subdomain in the Custom domains panel, then selecting Edit site name in the menu.
See its that easy to deploy a site. Now, if you build any website make sure to follow the above steps and deploy your site in seconds.

